Introduction
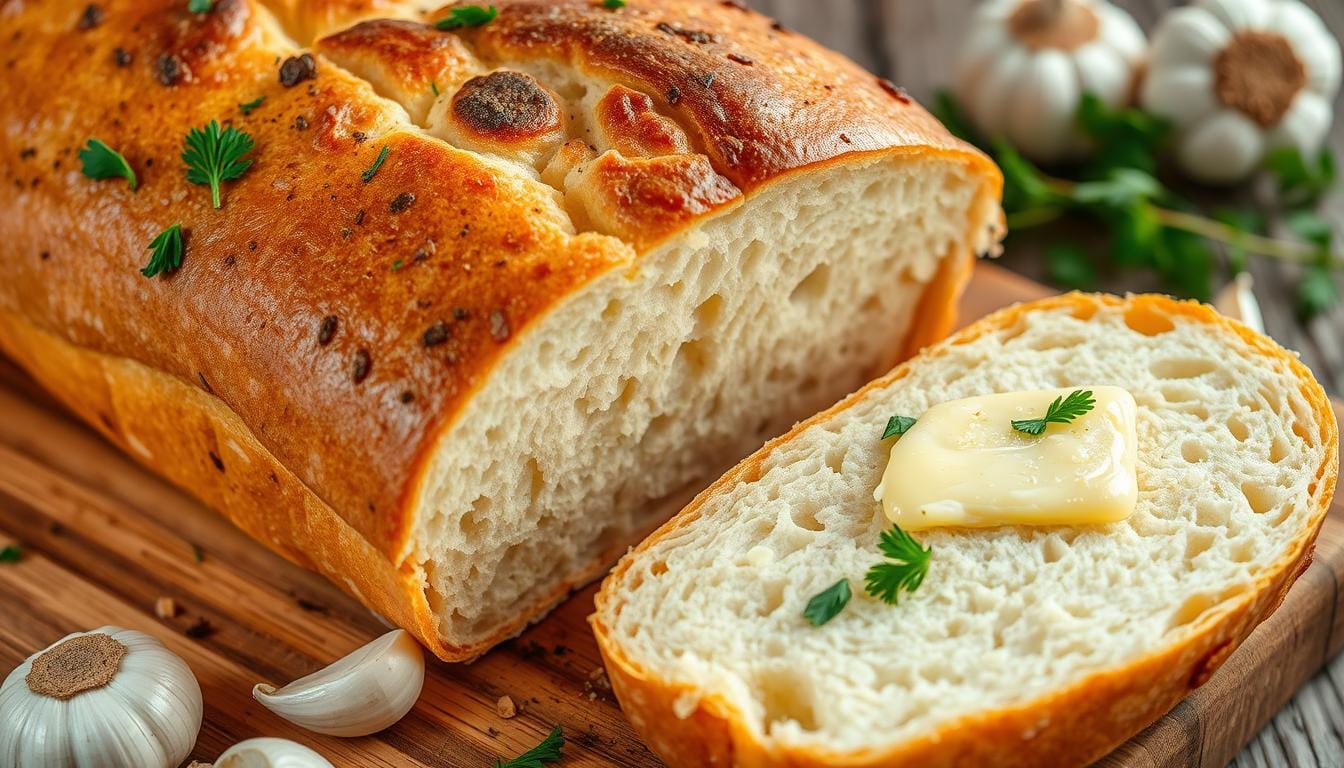
Imagine walking into your kitchen and smelling freshly baked bread. It’s not just any bread; it’s homemade sourdough garlic bread. Each bite is a mix of crispy crust and soft, aromatic center.
The secret is roasted garlic, which boosts the flavor. It makes your taste buds happy. Whether you’re hosting friends or treating yourself, this guide will help you make delicious sourdough garlic bread at home.
Even if you’re new to baking, don’t worry. The steps are simple and effective. You’ll make a loaf that’s as good as any bakery. This recipe uses wholesome ingredients and roasted garlic for a rich flavor.
Let’s start our journey to making perfect homemade sourdough garlic bread!
Why You’ll Love This Sourdough Garlic Bread Recipe
This recipe is loved for many reasons. The mix of sourdough and roasted garlic gives a special taste. It’s sweet and savory, perfect with pasta or soups.
The sourdough garlic bread is also good for you. It’s easier to digest than white bread and might be less likely to raise blood sugar. Fresh garlic adds a flavor that pre-minced or powder can’t match.
Baking with garlic boosts your meal’s nutrition. Each piece has about 379 calories but is full of protein and healthy fats. Plus, it’s quick to make, ready in under 15 minutes.
You can make the garlic butter ahead of time and keep it in the fridge. Leftovers can be reheated or turned into croutons or garlic bread pizzas. This way, you get more use out of your bread. Enjoy it with salads or roasted veggies for a complete meal.
Essential Ingredients for Sourdough Garlic Bread
To make the best sourdough garlic bread, you need the right ingredients. Each one is important for taste, texture, and enjoyment. Let’s explore the key ingredients that make this bread so special and tasty.
- All-Purpose Flour: This ingredient makes your bread soft and versatile for baking.
- Bread Flour: With more protein (12.5%), it makes the dough stronger for a chewier bread.
- Whole Wheat Flour: It adds flavor and health benefits, helping with fermentation.
- Sourdough Starter: A mature starter is crucial for good fermentation. Make sure it’s ripe for the best results.
- Room Temperature Filtered Water: Using filtered water helps create a healthy dough for better baking.
- Salt: Salt is key for flavor and controlling fermentation, balancing the bread’s taste.
- Roasted Garlic: Roasting 3 bulbs (about 25-30 cloves) gives a rich flavor. It adds a wonderful aroma and taste.
- Fresh Herbs (Optional): Adding fresh rosemary (1-2 sprigs) adds a fragrant touch.
Make sure your ingredients are fresh for the best results. The quality of your sourdough bread ingredients greatly affects the final product. You’ll get a bread that’s not only delicious but also healthy.
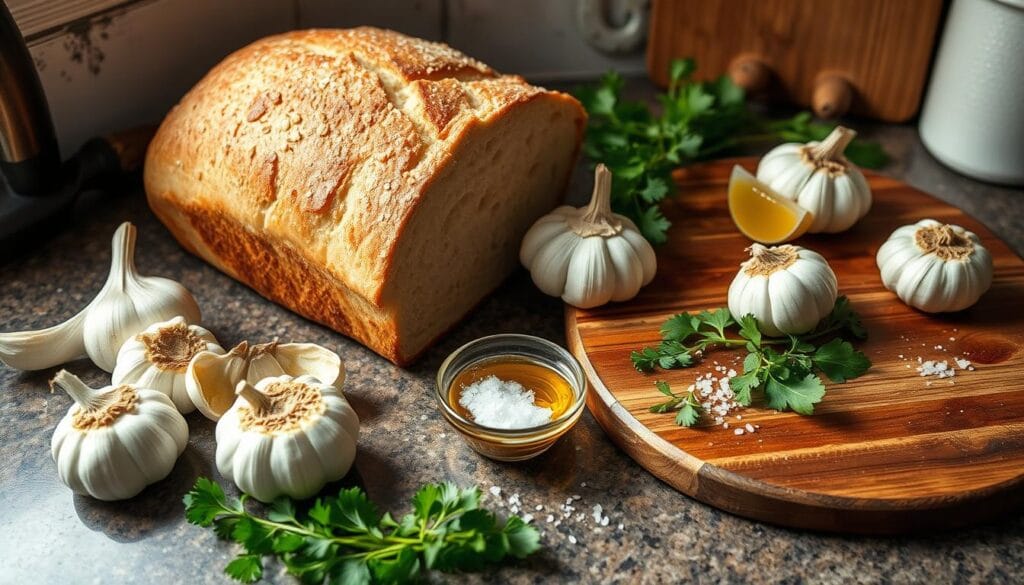
| Ingredient | Function | Health Benefits |
|---|---|---|
| All-Purpose Flour | Base for dough | Rich in carbohydrates |
| Bread Flour | Improves texture | Higher protein aids digestion |
| Whole Wheat Flour | Adds flavor | High in fiber |
| Sourdough Starter | Leavening agent | Supports gut health |
| Room Temperature Filtered Water | Hydrates ingredients | Promotes healthy fermentation |
| Salt | Enhances flavor | Regulates sodium levels |
| Roasted Garlic | Flavor component | Rich in antioxidants |
| Fresh Herbs | Fragrant addition | Contains vitamins and minerals |
How to Make Roasted Garlic for Your Bread
Roasted garlic makes your sourdough garlic bread taste sweeter and milder than raw garlic. Learning how to prepare garlic is key to getting the best flavor. Start by picking fresh garlic heads. Here’s how to prepare roasted garlic:
- Preheat your oven to 400°F (200°C).
- Cut the tops off the garlic heads to expose the cloves.
- Drizzle the garlic with olive oil, making sure each clove is covered.
- Wrap the garlic heads in foil to keep moisture and flavor inside.
- Bake for 30 to 50 minutes, until the cloves are golden and soft.
After roasting, let the garlic cool a bit before getting the soft cloves out. You can squeeze them out or use a small fork. This roasted garlic is rich and sweet, great for your recipe.
Make roasted garlic in batches to have it ready when you need it. It can stay in the fridge for up to three days. It’s perfect for more than just sourdough garlic bread. Try different ways of preparing garlic to make your meals even better!https://www.sourdoughvoyage.com/dinner/
Preparing Your Sourdough Starter
Making great sourdough garlic bread begins with a well-prepared sourdough starter. This live mix of flour and water is key to your bread’s success. To get the best results, follow tips for keeping your starter active and healthy.
Feed your starter 4-12 hours before baking. This lets it reach its peak activity, doubling in size in 4 to 8 hours. A float test shows if it’s ready: if it floats in water, it’s strong enough to make your bread rise.
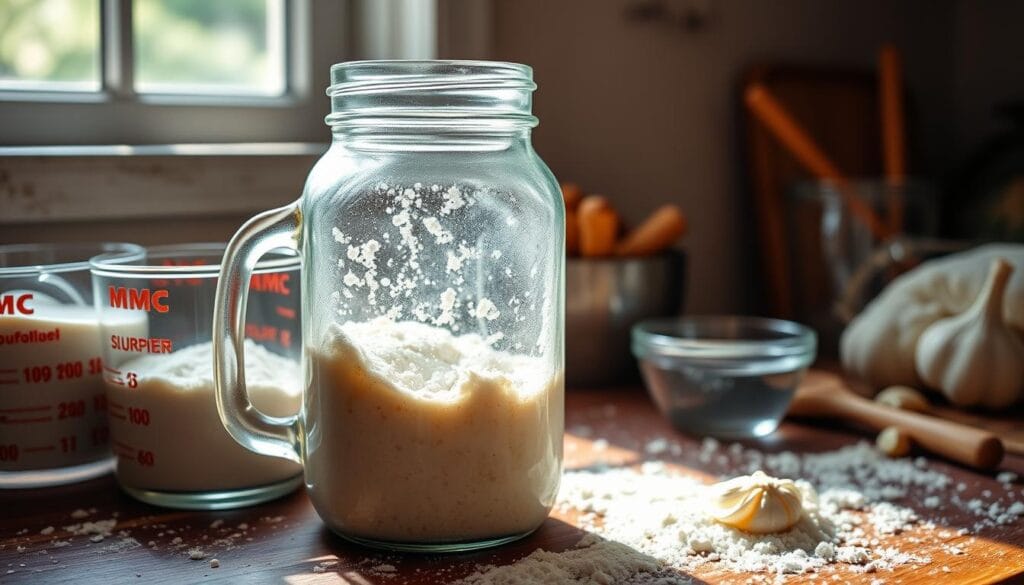
To keep your starter healthy, use the right amounts. A good ratio is 1:1:1 of flour, water, and starter. Use organic flour and filtered water for the best taste. High-quality salt also adds flavor.
For the best baking, keep your starter in a warm, draft-free place at 70°F (21°C). Keep your workspace clean to avoid distractions from pets or cats.
With these tips, you’ll soon be baking delicious sourdough garlic bread. It’s a treat that everyone will enjoy.
Steps to Make Sourdough Garlic Bread
Making sourdough garlic bread is a fun process. It involves mixing ingredients and stretching the dough. These steps turn simple flour, water, and starter into tasty bread. Let’s explore these important phases.
Mixing the Ingredients
First, gather all your ingredients. You’ll need:
- 236 grams of flour (120g all-purpose and 180g bread flour)
- 100 grams of sourdough starter
- 1 tablespoon of olive oil
- 15 grams of salt
- Roasted garlic and fresh rosemary for flavor
In a big bowl, mix warm water with the sourdough starter. Make sure it’s bubbly. Then, add flour and salt slowly, mixing well. This step is key for the dough’s foundation.
After mixing, let the dough rest for about 30 minutes. This is called the autolyse phase. It helps the dough become more elastic.
Stretching & Folding the Dough
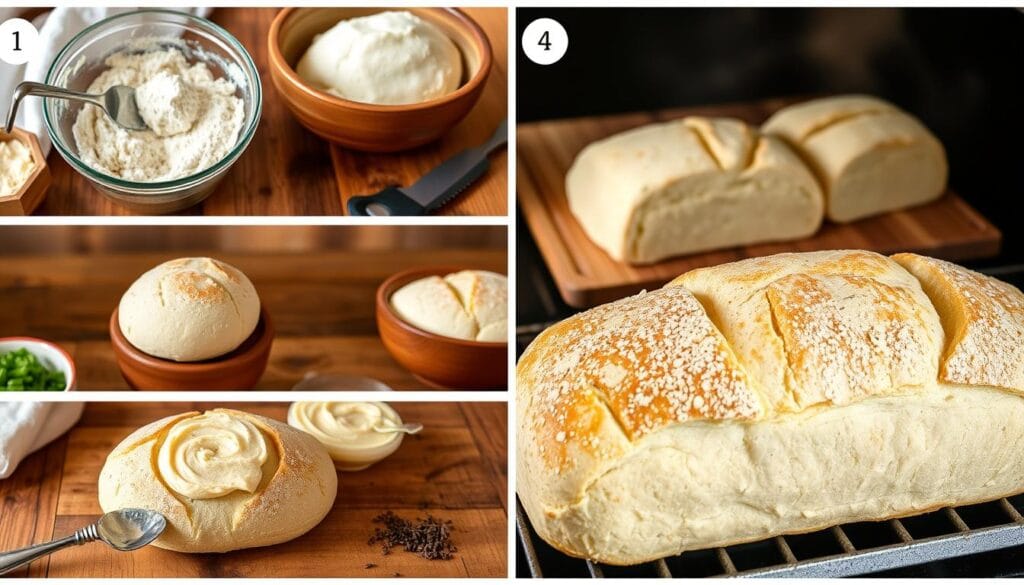
Now, it’s time for dough stretching techniques. Start the bulk fermentation by letting the dough rest. Every 30 minutes for two hours, do four sets of stretch and folds.
To stretch, wet your hands and grab one edge of the dough. Stretch it up and fold it back. Rotate the bowl and repeat for each side. This makes the dough strong and fluffy.
After stretching, let the dough rise in a warm place. It should double in size. This can take 4 to 8 hours, depending on your starter and the temperature.
Bulk Fermentation: The Key to Flavor
Understanding bulk fermentation is key for great flavor and texture in sourdough garlic bread. This step lets the dough develop gluten. This makes it easier to handle and shape.
The best temperature for bulk fermentation is 74-76°F (23-24°C). Keeping this temperature helps the dough ferment well. You’ll need about 8 hours for the dough to double in size. Some bakers even refrigerate their dough for up to three days for a tangier flavor.
Look for signs that bulk fermentation is done. A good dough will have air bubbles and be elastic. Stretch and folds help develop gluten, which is crucial in bread science.
To improve your baking, mix flour and water first and let it rest for 45 minutes. This autolyze method boosts hydration and flavor. Follow these tips to make the best sourdough garlic bread.
Shaping and Second Rise of the Dough
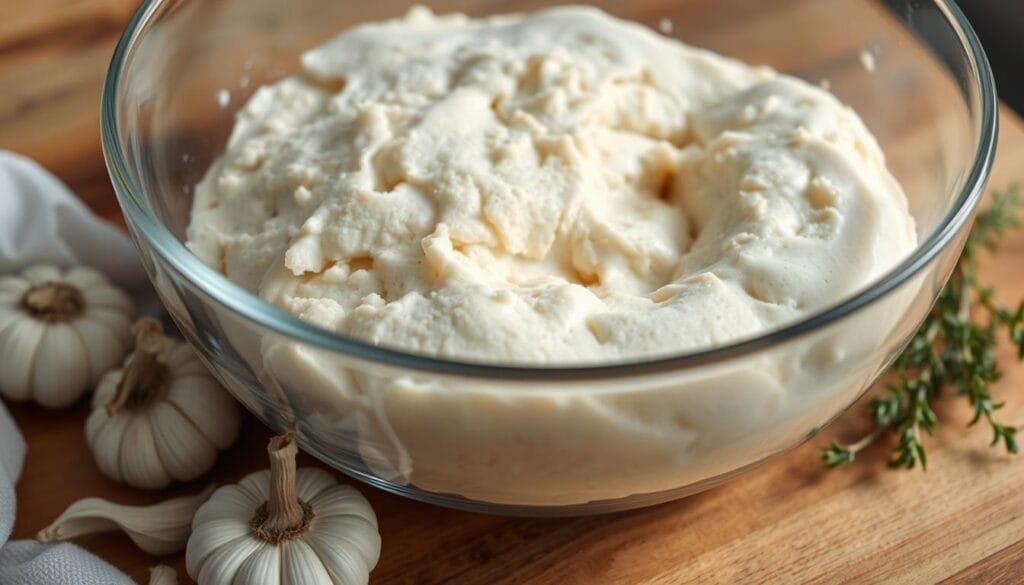
After your dough has bulk fermented, it’s time to shape the dough. Turn the dough onto a floured surface carefully. Stretch it into a rough rectangle without deflating the air pockets.
Use your hands to fold the edges towards the center. This creates tension on the surface. The goal is to shape the dough beautifully for the final loaf.
Let the dough rest for 15 to 30 minutes after shaping. This helps develop a skin that keeps the shape in the oven. Then, do a final shape, like a tight ball or a torpedo.
For the second rise, use a banneton or a well-floured bowl. This keeps the dough’s shape while it rests. The rise lasts 30 minutes to 1 hour, depending on the temperature.
By using good second rise techniques, the dough will puff up. It will be ready for the oven, full of flavor and a beautiful rise.
Baking Your Sourdough Garlic Bread
For successful baking sourdough bread, preheating your oven is key. Start by setting your oven to 500 degrees Fahrenheit. This high temperature creates steam, which is vital for a crusty bread.
After the oven heats up, place your Dutch oven inside to warm up for at least 30 minutes.
Once your dough has risen and you’ve shaped it, it’s time to score the surface. Scoring allows the bread to expand properly in the oven. It also creates appealing patterns that enhance the final look.
For oven settings for bread, adjusting the temperature during baking is crucial. Bake the bread with the lid on for the first 20 minutes at 500 degrees. This traps steam, promoting a nice rise and keeping the interior moist.
After the first 20 minutes, reduce the temperature to 475 degrees and remove the lid. This allows the crust to harden and gain that signature golden-brown color for an additional 25 minutes.
Cooling your bread is equally important. After baking, transfer it to a wire rack. Allowing the bread to cool properly ensures that the moisture inside is evenly distributed. This enhances both flavor and texture.
Sourdough garlic bread is best when served warm. However, for optimal freshness, consume within two days.
| Step | Details |
|---|---|
| Oven Preheat | 500°F for 30 minutes with Dutch oven |
| Baking Time | 20 minutes with lid, then 25 minutes without |
| Cooling | Transfer to wire rack, cool completely |
| Best Served | Within 2 days for ideal taste and texture |
Serving Suggestions for Sourdough Garlic Bread
Freshly baked sourdough garlic bread adds a special touch to meals. Its bold flavors and soft texture make it perfect as a side or the main attraction. Serving sourdough bread can make any meal more enjoyable.
Pairing sourdough garlic bread with hearty soups is a great idea. Try it with creamy tomato basil or rich potato leek soup for dipping. You can also spread garlic herb butter on warm slices for a tasty treat.
This bread is great for making sandwiches too. Think about layers of juicy roast beef with tangy horseradish sauce or grilled veggies with fresh mozzarella. These combinations showcase the sourdough’s unique taste.
Don’t throw away leftover sourdough garlic bread. Use it to make croutons for salads or stratas for brunch. Simply cube the bread, toss with olive oil and spices, and bake until crispy. It adds a nice crunch to your dishes.
Here’s a nutritional breakdown of a serving of sourdough garlic bread:
| Nutritional Information | Per Serving |
|---|---|
| Calories | 467 |
| Serving Size | 1 slice |
| Total Servings | 10 |
Exploring sourdough garlic bread opens up many culinary possibilities. Its rich flavor makes it a great addition to any meal, big or small. Try different toppings and fillings to make your next gathering even more special.
Storage Tips for Leftover Sourdough Garlic Bread
Wondering how to keep your sourdough garlic bread fresh? Storing it right is key to keeping its taste and texture. Use an airtight container to keep air out, which helps prevent it from getting stale.
To keep it fresh for up to three days, use an airtight container or plastic wrap. This is a great way to keep it fresh at room temperature. For longer storage, freeze it. Cool it down completely before wrapping it in plastic or foil. Label it with the date and it can stay frozen for two months.
To enjoy your frozen sourdough garlic bread, thaw it in the fridge overnight. Then, reheat it in an oven or toaster oven at 350°F for 10-15 minutes. This will make it taste like it just came out of the oven. These tips help you enjoy your homemade bread for longer.
| Method | Duration | Notes |
|---|---|---|
| Airtight Container | Up to 3 days | Keep at room temperature |
| Freezing | Up to 2 months | Wrap tightly to avoid freezer burn |
| Reheating in Oven | 10-15 minutes at 350°F | Thaw in refrigerator before reheating |
Conclusion
Making homemade sourdough garlic bread is more than baking. It’s a journey that fills you with joy and pride. You mix simple ingredients and watch them change through fermentation. This process connects you to a long-standing tradition.
This bread is not only tasty but also good for you. It’s a great choice for your diet.
This recipe is a starting point for exploring new flavors. You can add herbs or try different garlic types. By following the sourdough process in this article, you’ll become a pro at baking sourdough. So, get your ingredients ready and start baking today!
As you bake, you’ll not only make delicious bread but also learn to appreciate sourdough’s history and culture. Enjoy the journey and savor the tasty results of each batch.
FAQ
What is sourdough garlic bread?
Sourdough garlic bread is a tasty bread made with a sourdough starter and roasted garlic. It has a sweet and savory taste. It’s also a healthier choice than white bread and is great for many meals.
Why should I use roasted garlic instead of raw garlic?
Roasted garlic tastes milder and sweeter than raw garlic. It adds a nice flavor to the bread without being too strong. This makes it perfect for sourdough garlic bread.
How can I tell if my sourdough starter is ready for baking?http://baking
Your sourdough starter is ready if it’s bubbly and has grown in size. Feed it 4-12 hours before baking. This ensures it’s active and ferments well.
Can I customize the recipe with different herbs?
Yes! You can add fresh herbs like rosemary, thyme, or parsley. This makes your sourdough garlic bread even tastier.
How do I achieve a crusty exterior on my bread?
Bake your bread in a preheated Dutch oven, covered for part of the time. This traps steam, creating a crusty exterior. Then, bake uncovered until it’s golden brown.
What are the best ways to store leftover sourdough garlic bread?
Store leftover bread in an airtight container at room temperature or wrap it tightly. For longer storage, freeze it. Reheat from frozen for the best taste and texture.
How long does the entire sourdough garlic bread-making process take?
The whole process can take up to 24 hours. This is mainly because of the fermentation time. But, active preparation and baking take about 4-6 hours.
Can I use store-bought sourdough starter?
Yes, you can use store-bought starter if it’s active and bubbly. Homemade starter is best, but store-bought works well too and is convenient.
2 thoughts on “How to Make Sourdough Garlic Bread at Home”
Comments are closed.